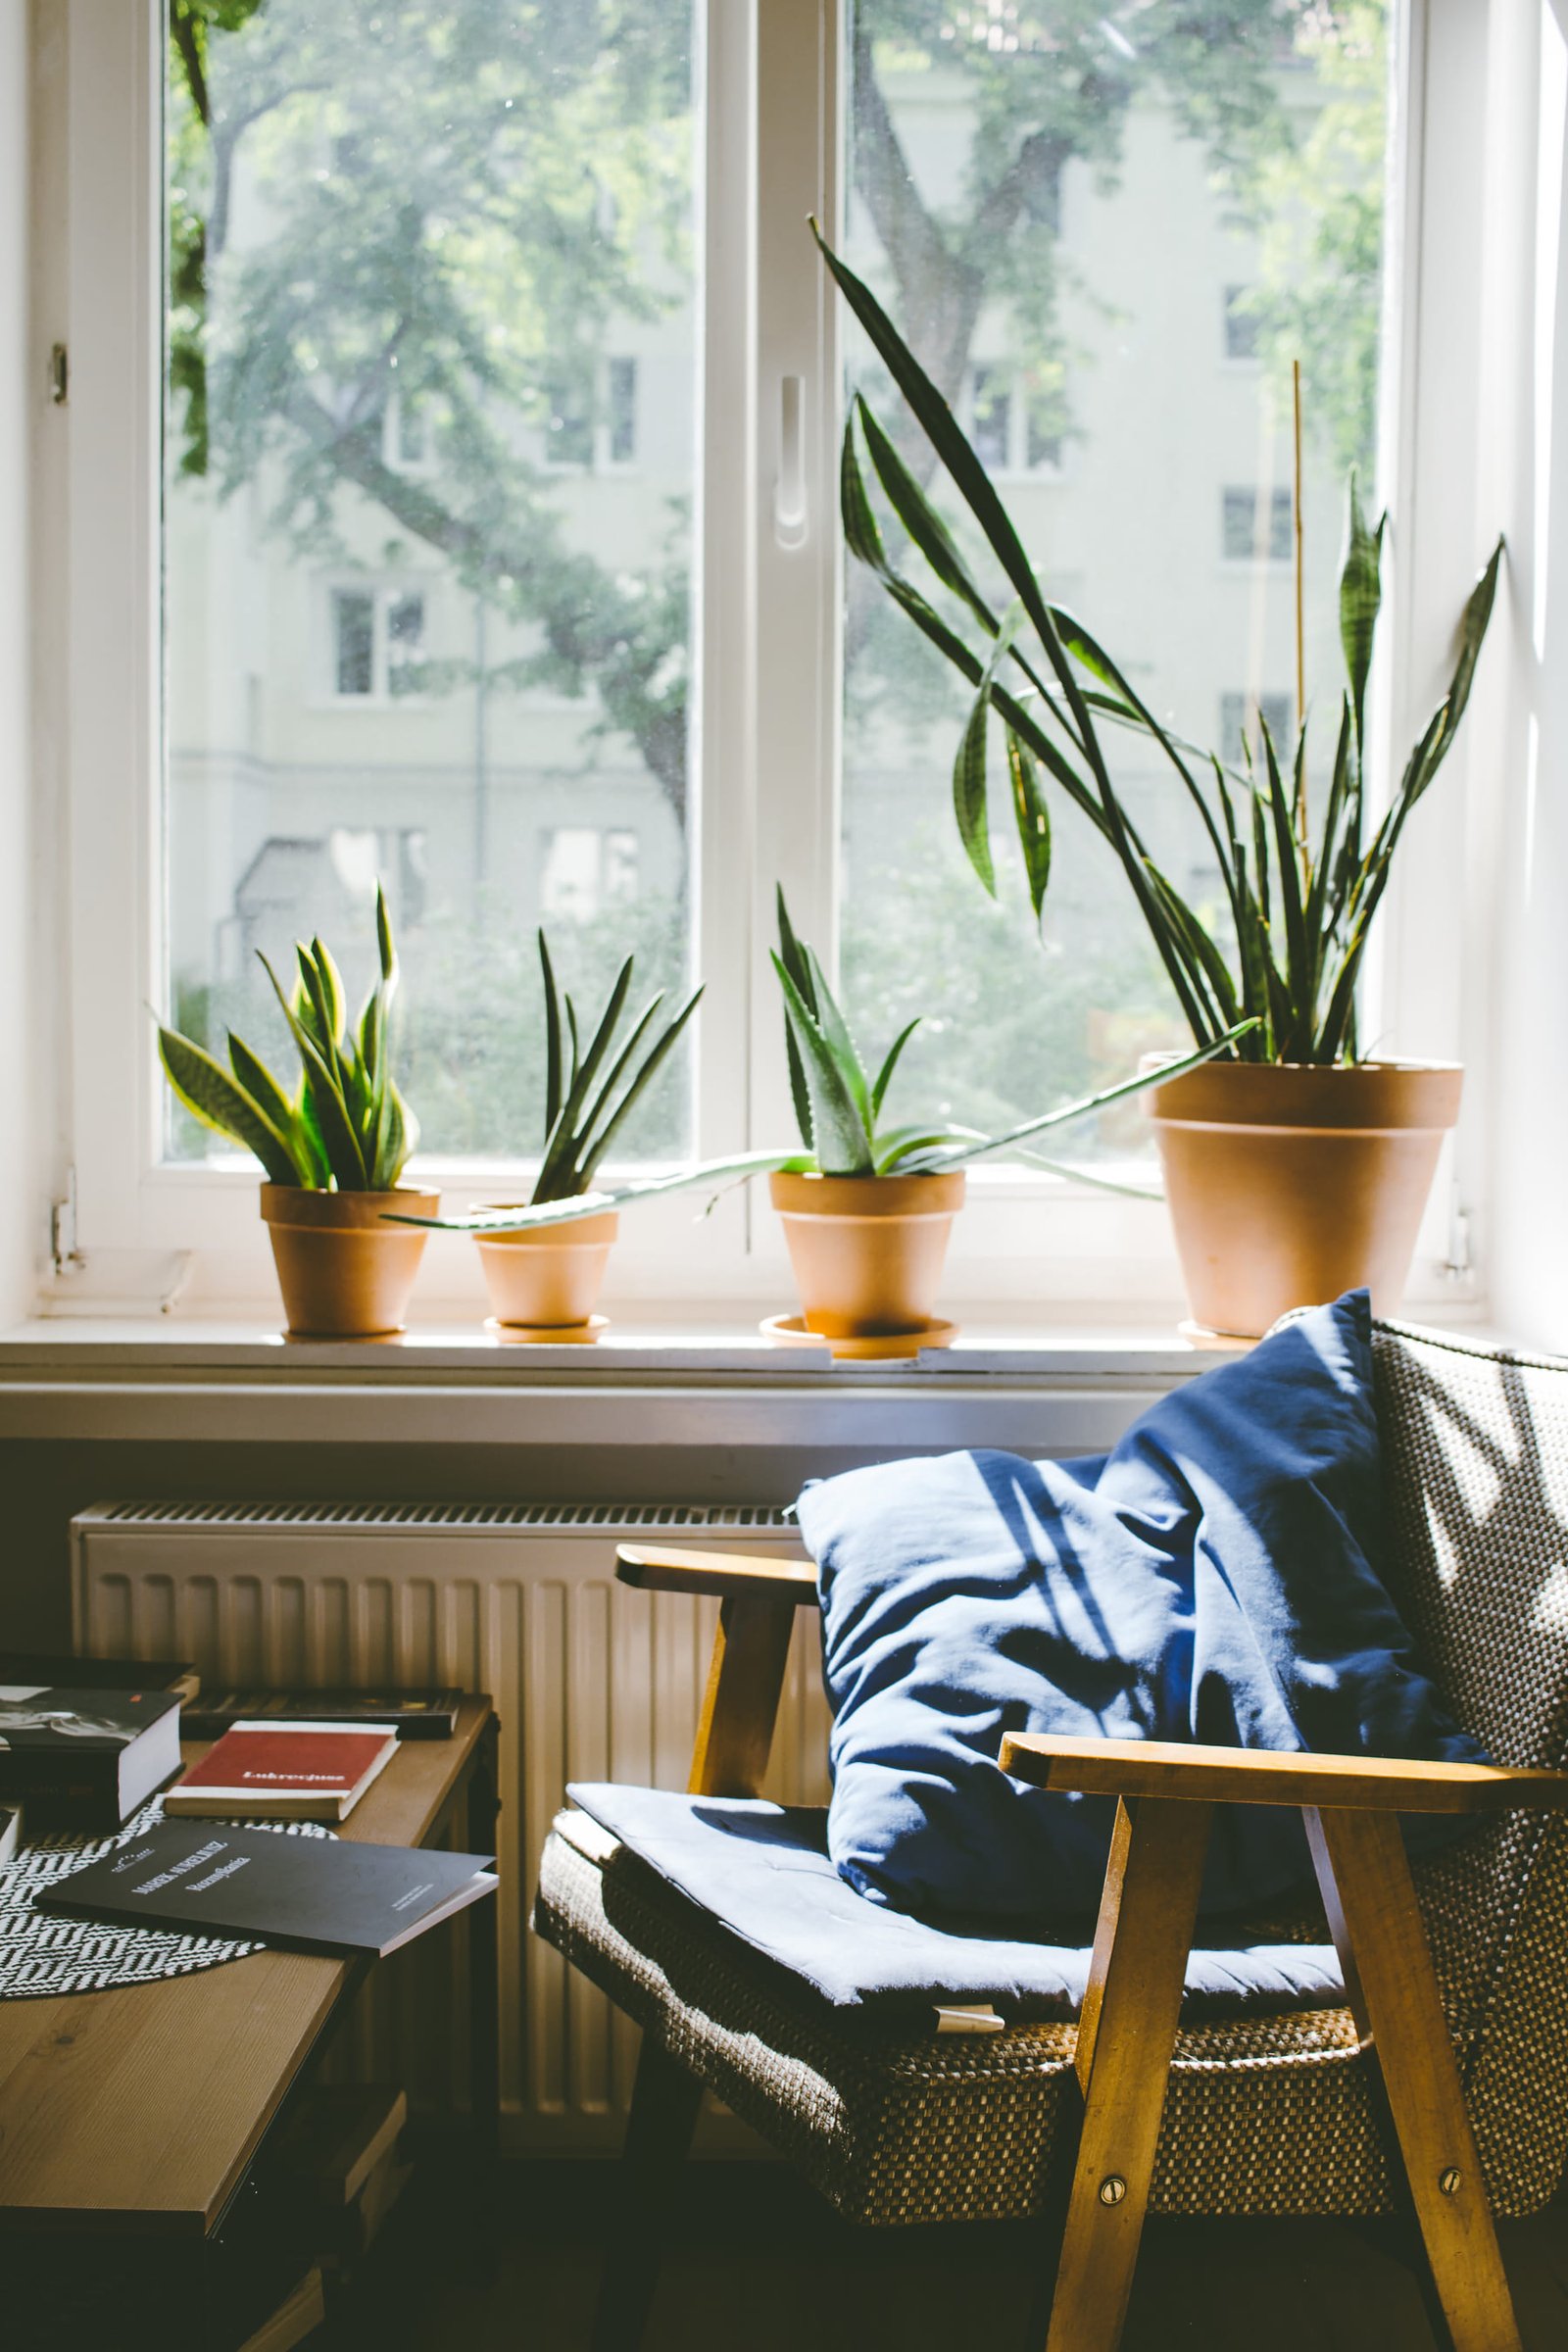
DIY Hanging Planter Ideas for Beginners: Bring the Green to Your Small Space
Hanging Gardens can be easier to approach when you start with a few practical basics. Hi everyone, Heather York here from Urban Sprout Corner! If you’re dreaming of adding a touch of lush greenery to your apartment, balcony, or even just a sunny windowsill, but you’re worried about space or don’t feel like you have a green thumb, you’ve come to the right place. Creating a hanging garden is surprisingly easy, incredibly rewarding, and a fantastic way to inject some life and vibrancy into your home. Let’s be honest, sometimes the thought of complex gardening projects can feel a little overwhelming. But trust me, you don’t need to be a master gardener to create a beautiful, thriving hanging garden. This is all about starting small, having fun, and celebrating those little victories along the way. We’re going to focus on simple, achievable projects that will build your confidence and get you hooked on the joy of growing your own plants.
Rustic Rope Basket Planters
Let’s kick things off with a project that’s wonderfully rustic, super affordable, and adds a fantastic textural element to your space - a rope basket planter. It’s a great way to instantly add a slightly bohemian vibe to your home. Don’t worry about making it perfect; a little imperfection adds to the charm!
Here’s what you’ll need:
- A sturdy basket - wicker or woven baskets work particularly well.
- Strong rope (jute, sisal, or any natural fiber you love)
- A drill
- Scissors
- Measuring tape
Instructions:
- Drill the Holes: Start by evenly spacing out a few holes around the bottom of your basket. I recommend about 4-6 holes, depending on the size of your basket. Use a drill bit slightly smaller than the diameter of your rope.
- Thread the Rope: Thread the rope through each of the holes, securing it with a strong knot. A square knot is a good choice here - it’s reliable and easy to learn.
- Wrap and Secure: Continue wrapping the rope around the basket, working your way upwards, maintaining an even tension. This is where you’ll control the height of your planter. Keep wrapping until you reach the desired height.
- Final Knot: Secure the end of the rope with a final, very secure knot. Double-knot it for extra peace of mind!
Pro Tip: For a more polished look, you can use a heat gun to gently shape the rope as you wrap it. This will create a tighter, more uniform weave. And don’t be afraid to experiment with different rope colors and textures!
Watch a step-by-step video tutorial here!
Upcycled Tin Can Charm Planters
Now let’s get a little creative and give those old tin cans a new purpose. This is a fantastic way to recycle and add a unique, quirky touch to your décor. Plus, it’s a really satisfying project to transform something old into something beautiful.
Materials:
- Empty tin cans (various sizes - soup cans, vegetable cans, etc.)
- Acrylic paint in your favorite colors
- Wire
- Drill
- Sandpaper
- Twine or beads (optional, for embellishments)
Instructions:
- Clean and Prep: First, give your cans a good scrub inside and out to remove any labels and residue. Then, lightly sand the edges to smooth them out - this will make them safer to handle and give the paint a better surface to adhere to.
- Paint Time! Now for the fun part! Paint the cans with your chosen colors. Let them dry completely. Multiple thin coats are better than one thick coat to prevent drips.
- Drill the Hole: Once dry, drill a hole near the top of the can for the wire. Be careful when drilling - use a metal drill bit and go slowly.
- Attach the Hanger: Attach a length of wire to the hole, creating a hanger. You can twist the wire securely or use pliers to bend it into a loop.
- Embellish (Optional): Add embellishments like twine, beads, or small charms to the wire hanger for extra charm.
Tip: To prevent rust, you can spray the inside of the cans with a clear sealant after painting.
Check out this video for a visual guide!
Choosing the Right Plants for Hanging Planters
You don’t need to be a plant expert! Seriously, starting with easy-care plants is the key to success. Let’s talk about what will thrive in a hanging setup. The beauty of hanging planters is that they create a sense of vertical interest, so choosing plants that complement that is important.
- Herbs: Herbs like mint and basil are fantastic - they’re fragrant, useful, and don’t need a ton of attention. They’re perfect for adding fresh flavor to your cooking.
- Succulents: These are a great choice - they’re drought-tolerant, come in so many shapes and sizes, and are generally very low-maintenance. Echeverias, Sedums, and Sempervivums are all excellent options.
- Flowering Plants: Petunias and impatiens are beautiful flowering options that do well in hanging baskets. They’ll add a pop of color to your space.
- Trailing Plants: Plants with trailing growth habits, like pothos or string of pearls, are perfect for cascading over the edges of your planters.
Light Considerations: Remember to consider how much light your space gets. A sunny windowsill will obviously be better for plants that need a lot of light (like succulents and petunias), while low-light plants like ferns or pothos can thrive in shadier spots. Don’t be afraid to move your plants around to find the perfect spot!
Basic Care Tips for Your Hanging Gardens
Watering is key! But overwatering is a common mistake, so let’s talk about how to do it right.
- Check the Soil: Check the soil regularly - it should be slightly moist, not soggy. A good way to tell is to stick your finger about an inch into the soil. If it feels dry, it’s time to water.
- Water Thoroughly: When you do water, water deeply until water drains out of the bottom of the planter. This ensures that the roots get enough moisture.
- Fertilize: A little fertilizer can help your plants thrive, especially during the growing season (spring and summer). Just use a balanced liquid fertilizer diluted to half strength.
- Observe Your Plants: Just a little bit of love and attention goes a long way. Observe your plants - if you notice yellowing leaves, it could be a sign of overwatering. If they’re drooping, it might be underwatering.
Troubleshooting: Common Issues & Solutions
Don’t panic! These are super common problems for beginner plant parents. It’s completely normal to encounter a few challenges along the way - that’s how you learn!
- Yellowing Leaves: Often, this means you’re overwatering. Let the soil dry out a bit more before watering again.
- Drooping Plants: Usually indicates underwatering. Give them a good soak.
- Leggy Growth: This can happen if plants aren’t getting enough light. Move them to a brighter location.
- Pests: Inspect your plants regularly for pests. If you find any, treat them with insecticidal soap or neem oil.
Remember, everyone makes mistakes - it's part of the learning process. Just observe your plants and adjust your care accordingly. Don’t be afraid to ask for help if you’re unsure about something!
Bringing it All Together
You’ve got this! Creating a beautiful hanging garden doesn’t have to be intimidating. Start with one of these simple projects, get started, and enjoy the process of watching your little green friends grow. It’s a wonderfully rewarding hobby, and even a small amount of greenery can make a big difference in how you feel about your space. And remember, the most important thing is to have fun and enjoy the journey!
Watch a step-by-step video tutorial here!
Check out this video for a visual guide!
Keep This Practical
If you want the advice here to stick, turn it into one change you can observe over the next week or two. Plants tend to reward steady adjustments more than dramatic resets.
Tools Worth A Look
These recommendations are most helpful if you want tools or supplies that make a small-space garden easier to grow and maintain.
- Gardening for BeginnersGardening Books For Beginners
- Square Foot Gardening for Small Spaces: Simple Raised-Bed and Container Methods to Grow Fresh Vegetables at Home.
Indoor Growing SeriesGrow at Home Made SimpleSome of the links on this page are Amazon affiliate links, which means I may earn a small commission if you make a purchase through them. As an Amazon Associate, I earn from qualifying purchases.
Related ReadingMore from Urban Sprout Corner
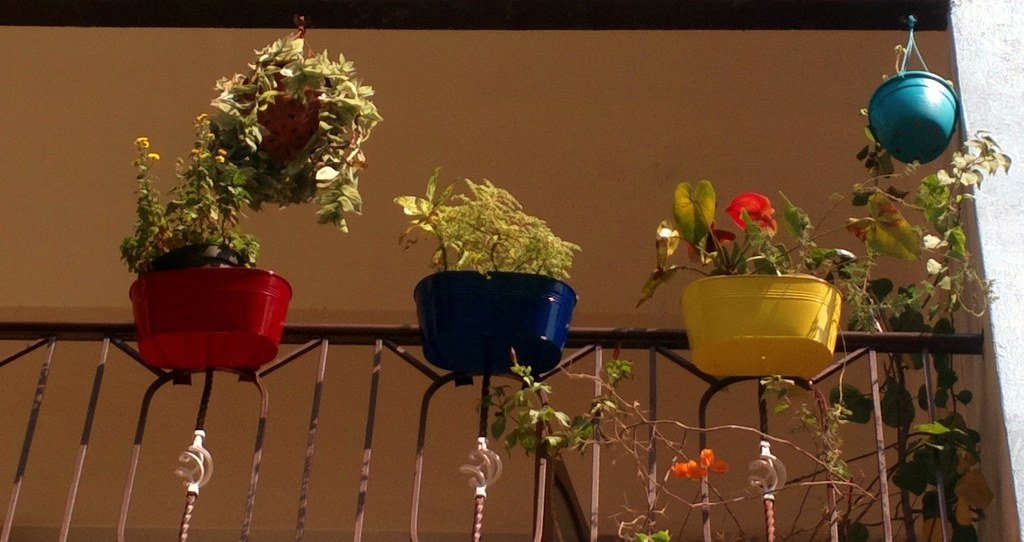
Hanging Planters: Fixing Common Problems
As someone who’s spent years transforming tiny balconies into thriving green oases, I’ve learned a thing or two about making small spaces bloom. Let’s get started!.

Hanging Gardens: DIY vs. Easy Alternatives
Use hanging gardens: diy vs. easy alternatives as a clearer framework for sorting through the tradeoffs, priorities, and next steps that matter most.
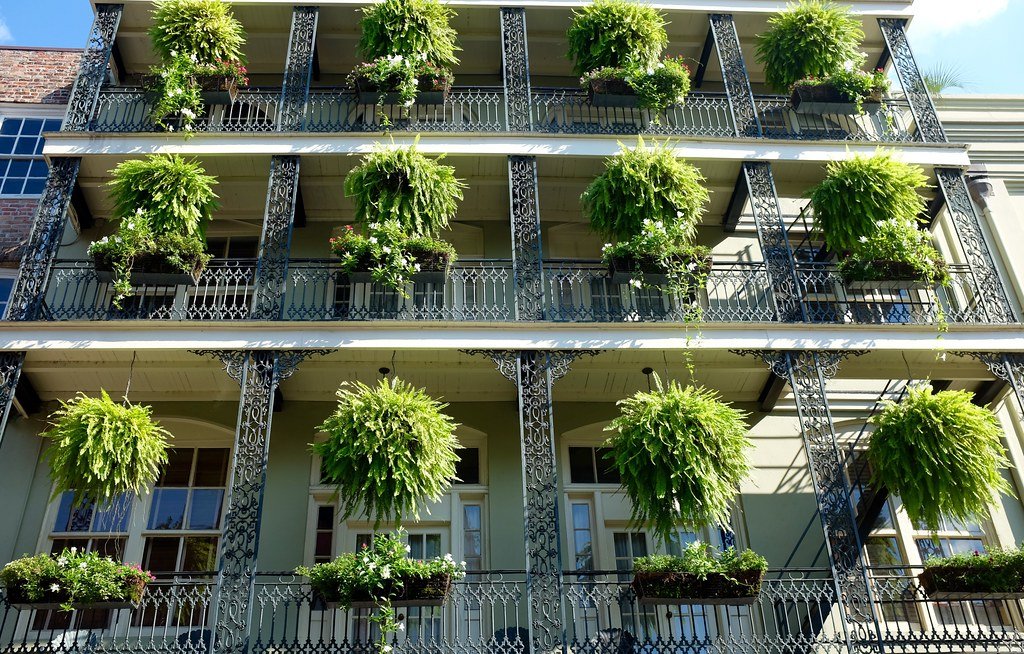
Hanging Gardens: DIY & FAQs
DIY Hanging Planter Ideas & FAQ: Bringing Green to Small Spaces Hanging Gardens: DIY & FAQs can be easier to approach when you start with a few practical basics.