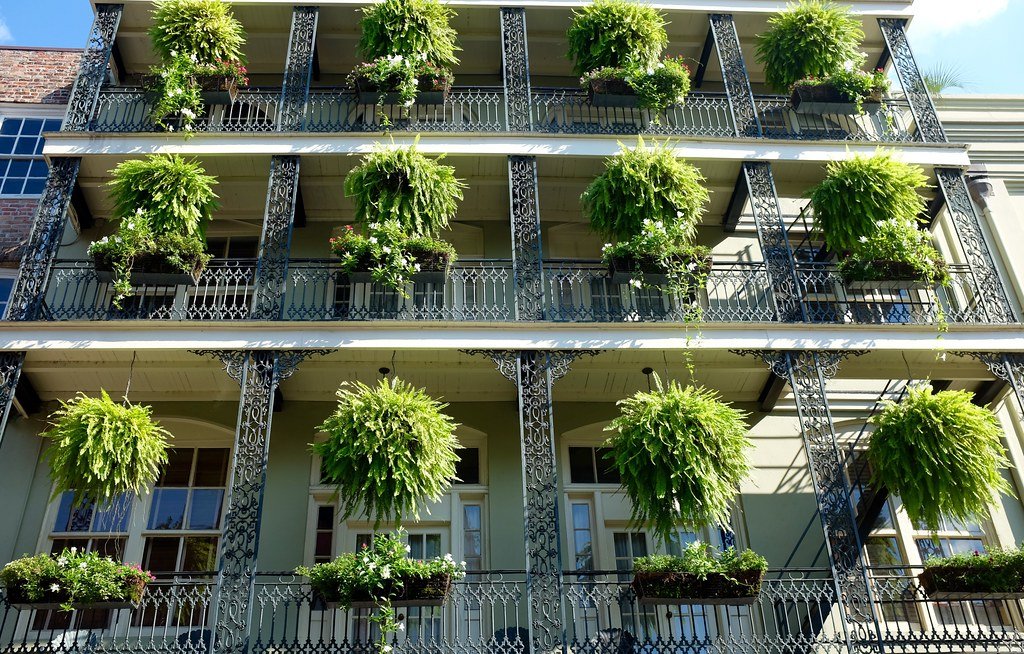
DIY Hanging Planter Ideas & FAQ: Bringing Green to Small Spaces
Hanging Gardens: DIY & FAQs can be easier to approach when you start with a few practical basics. David Barlow - April 22, 2026
Let’s be honest, many of us live in apartments, condos, or homes with limited outdoor space. But that doesn’t mean we have to forgo the joy of gardening. In fact, small spaces can be perfect for container gardening, and hanging planters are a fantastic way to maximize vertical space and create a vibrant, living wall. This guide will walk you through everything you need to know - from choosing the right plants and building your own planters to troubleshooting common issues. We’re focusing on realistic, achievable results, so let’s get started.
Getting Started: Materials You’ll Need (Hanging Gardens: DIY & FAQs)
Before you dive in, let’s gather our supplies. You don’t need a huge investment, but having the right tools will make the process smoother. Here’s a breakdown of what you’ll need:
- Fasteners: Screws (for pallet modification), nails (for pallet modification), zip ties (for securing twine), strong twine or rope.
- Potting Mix: Choose a well-draining potting mix. A mix specifically formulated for containers is a good bet. Don’t skimp here - it’s the foundation of your plants’ health.
- Tools: Scissors, a drill (for pallet modification), a hammer (for pallet modification), a measuring tape (helpful, but not essential).
- Seeds or Seedlings: This depends on what you’re planting.
Planting for Success - Choosing the Right Plants
Not all plants thrive in hanging baskets. The key is to consider your space’s conditions - primarily sunlight. A south-facing window will offer the most light, while a north-facing window will provide the least. Here are some suggestions that generally do well in hanging planters, categorized by their needs:
- Herbs: Basil, mint, thyme - these compact herbs are perfect for hanging planters. They enjoy plenty of sunlight and are relatively easy to care for. Basil, for instance, benefits from at least 6 hours of direct sun. Mint, however, can tolerate a bit more shade.
- Strawberries: Trailing strawberries are a beautiful and productive choice. They need at least 6 hours of sunlight per day to produce a good yield. Consider using a hanging basket with a slightly wider base to provide support as the vines grow.
- Trailing Flowers: Petunias and calibrachoa are classics for a reason. They cascade beautifully and come in many colors. Deadheading (removing spent flowers) will encourage more blooms.
- Small Vegetables: Cherry tomatoes and peppers can be grown in hanging baskets, but they’ll need regular watering and support. A small tomato cage or stake placed inside the planter will help them grow upright.
- Trailing Greens: Lettuce and spinach can also be grown in hanging baskets, especially in cooler months. They appreciate morning sun and afternoon shade.
Watering & Care - Keeping Your Plants Happy
Consistent watering is crucial, but overwatering is just as bad as underwatering. The frequency will depend on the plant type, the weather, and the size of your planter. A good rule of thumb is to check the soil moisture by sticking your finger about an inch deep. If it feels dry, it’s time to water. Don’t rely solely on a watering schedule; observe your plants - drooping leaves are a clear sign they need water.
Drainage is absolutely critical. Those holes in the bottom of your planters aren’t just for show; they’re essential for preventing root rot. If you’re using a repurposed container, make sure the holes are clear and not blocked by soil. For convenience, consider a self-watering system, particularly if you travel frequently. These systems slowly release water to the roots, ensuring consistent moisture. A simple DIY version can be made with a plastic bottle inserted into the soil, with the cap perforated for slow drainage.
Organic fertilizers - seaweed extract or compost tea - are great options for feeding your plants. They provide essential nutrients without the harsh chemicals. Apply fertilizer every 2-4 weeks, following the instructions on the packaging. Don’t over-fertilize; it can burn the roots.
DIY Hanging Planter Ideas - Beyond the Basics
Let’s get practical. Here are a few ideas to get your creativity flowing:
- Pallet Planters: Repurposed pallets are incredibly versatile. You can create a whole wall of hanging planters by attaching fabric pockets to the pallet. Secure the fabric with staples or zip ties.
- Tin Can Planters: Cleaned and painted tin cans make charming individual planters. Drill drainage holes and hang them with sturdy wire or rope.
- Wooden Crates: Small wooden crates can be hung individually or grouped together for a rustic look.
- Upcycled Buckets: Old buckets (think paint buckets or food buckets) can be transformed into hanging planters with a few modifications - drainage holes and a sturdy hanging mechanism.
FAQ: Addressing Common Concerns
Let’s tackle some common questions you might have:
- Q1: “Will my planter tip over?” Weight distribution is key. Hang your planters from secure points - hooks in the ceiling or sturdy brackets. Don’t overload the planters with too much soil or plants. Consider the weight of the soil and plants combined when choosing your hanging hardware.
- Q2: “How often should I water?” There’s no one-size-fits-all answer. Herbs generally need watering every 1-2 days, while strawberries might need daily watering during hot weather. Observe your plants - drooping leaves are a sign they need water.
- Q3: “What kind of potting mix should I use?” A well-draining potting mix is essential. Avoid using garden soil, as it will compact and not allow for proper drainage.
- Q4: “How do I fertilize?” Organic fertilizers are gentler on your plants. Seaweed extract is a good choice, as is compost tea. Follow the instructions on the fertilizer packaging.
- Q5: “What if my plants are looking leggy?” This often indicates they aren’t getting enough light. Try moving the planter to a brighter location or supplementing with a grow light.
Troubleshooting Common Issues
Even with the best intentions, things can go wrong. Here are a few common problems and how to address them:
- Yellowing Leaves: Could be overwatering, underwatering, nutrient deficiency, or pest infestation. Check the soil moisture, fertilize if needed, and inspect for pests.
- Wilting Plants: Usually a sign of underwatering, but can also be caused by heat stress.
- Pest Infestations: Regularly inspect your plants for pests like aphids or spider mites. Treat with insecticidal soap or neem oil.
Conclusion: Cultivating Your Urban Sprout Corner
Bringing a little greenery into your small space with DIY hanging planters is a rewarding experience. It’s a simple way to add beauty, create a connection with nature, and even grow your own food. Don’t be afraid to experiment - there’s no right or wrong way to do it. Start small, observe your plants, and enjoy the process. And remember, even a few thriving plants can transform a room and brighten your day. Building your urban sprout corner is about creating a little bit of calm and beauty, one hanging planter at a time.
Keep This Practical
Garden progress usually comes from one condition getting a little better: light, watering, soil, or plant choice. Start with the factor that would make the biggest difference in the space you have.
Tools Worth A Look
If the article pointed you toward one clearer plant or setup decision, the products below are the closest fit.
- Gardening for BeginnersGardening Books For Beginners
- Square Foot Gardening for Small Spaces: Simple Raised-Bed and Container Methods to Grow Fresh Vegetables at Home.
Grow at Home Made SimpleEMEET 1080P Webcam with Microphone, C960 Web Camera, 2 Mics Streaming Webcam, 90°FOV Computer Camera, Plug and Play USB Web CamSome of the links on this page are Amazon affiliate links, which means I may earn a small commission if you make a purchase through them. As an Amazon Associate, I earn from qualifying purchases.
Related ReadingMore from Urban Sprout Corner
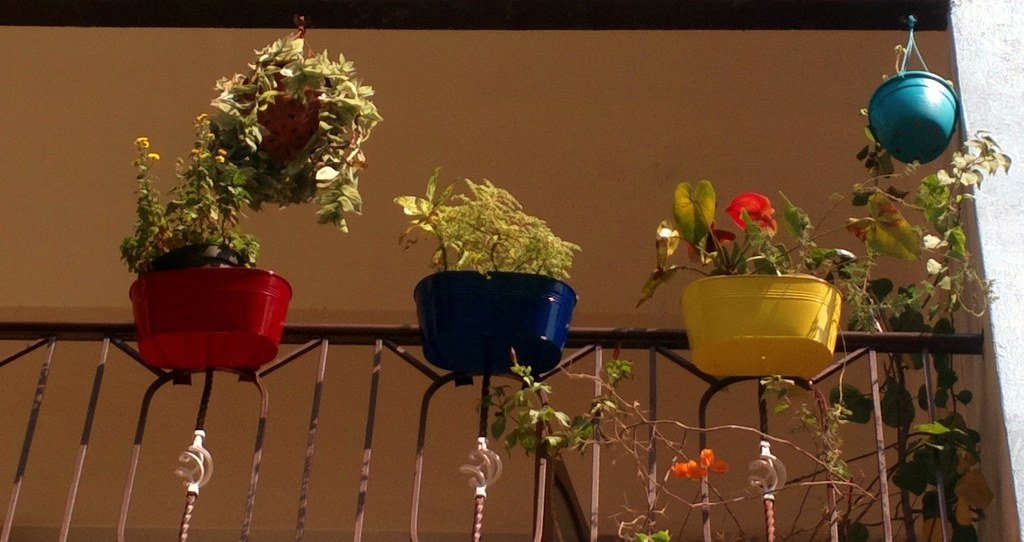
Hanging Planters: Fixing Common Problems
As someone who’s spent years transforming tiny balconies into thriving green oases, I’ve learned a thing or two about making small spaces bloom. Let’s get started!.

Hanging Gardens: DIY vs. Easy Alternatives
Use hanging gardens: diy vs. easy alternatives as a clearer framework for sorting through the tradeoffs, priorities, and next steps that matter most.
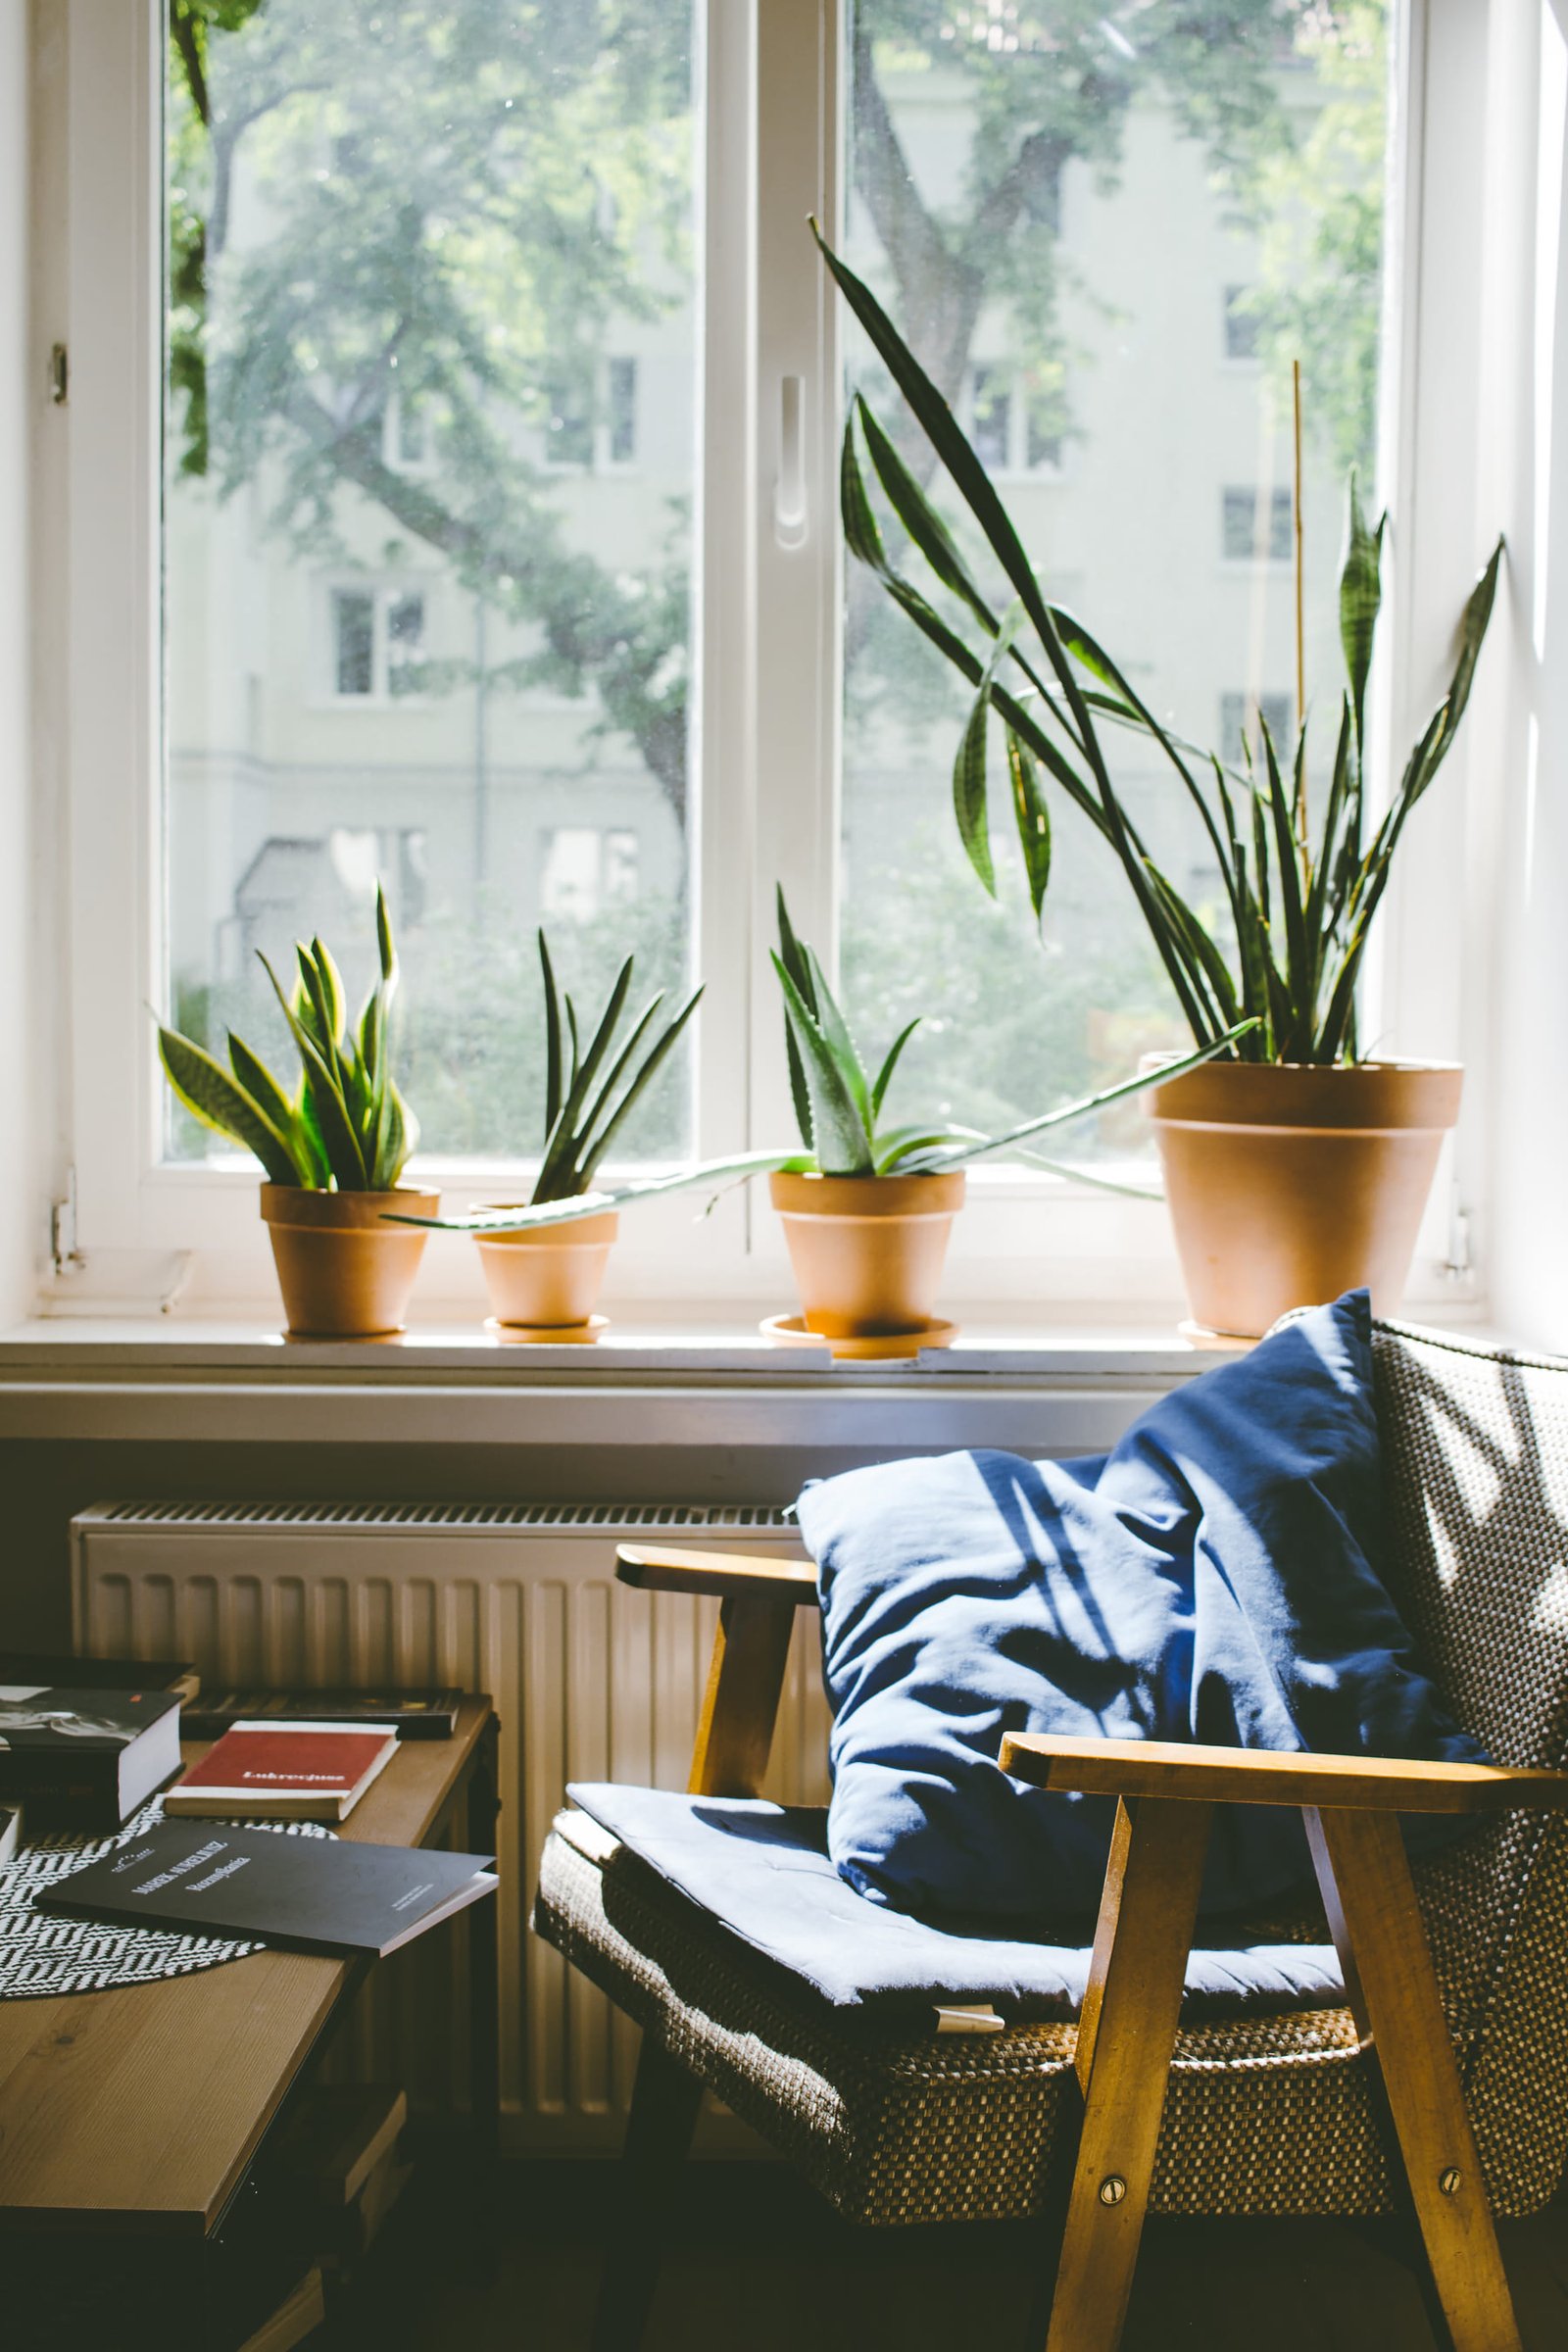
Hanging Gardens for Small Spaces
DIY Hanging Planter Ideas for Beginners: Bring the Green to Your Small Space Hanging Gardens can be easier to approach when you start with a few practical basics.