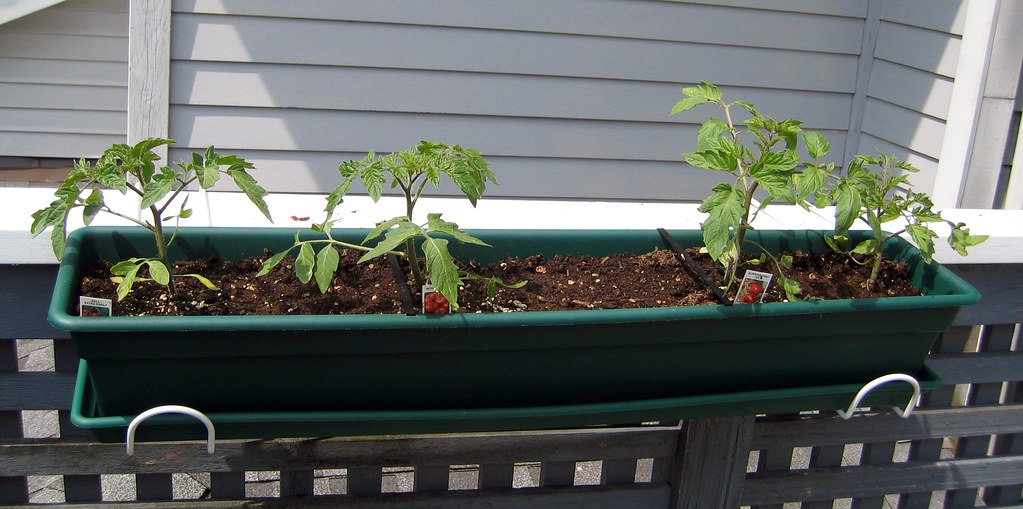
For A Simple DIY Start, the practical version is the one that saves friction, respects your budget, and still works after the novelty fades.
April 22, 2026 Mark Conrad Composting. It’s a word that conjures up images of sprawling farms and back-breaking labor, right? Not entirely wrong, but increasingly, it’s becoming a genuinely accessible part of urban living. The simple truth is, more and more people - especially those of us living in apartments - are realizing the benefits of diverting food scraps from landfills, reducing their environmental impact, and creating a nutrient-rich soil amendment for their plants. It’s a surprisingly rewarding cycle, and it’s easier to start than you might think. Forget the idea that composting is just for rural homesteaders; a well-managed system can absolutely thrive in a small space. this post is designed to walk you through building a functional and affordable DIY compost bin, tailored specifically for apartment dwellers who want to get started without a huge investment or a lot of fuss.
Choosing Your Bin Type - Small Space Solutions
Let's be realistic. Space is at a premium in most apartments. That’s why we’re focusing on three relatively simple and inexpensive bin options. Each has its strengths and weaknesses, so let's break them down. First, there’s the Simple Bucket System. This is probably the easiest and cheapest to set up. You’ll need two plastic buckets - 5-gallon sizes work well - and a drill. Drill a few small holes in the bottom for drainage and a few more near the top for aeration. Layer your compostable materials - ‘greens’ like vegetable scraps and ‘browns’ like shredded paper - in alternating layers, keeping it moist. The downside? It can get a bit smelly if not managed properly, and the airflow isn't the greatest. Estimated cost: $15 - $30. Next up is the Worm Bin (Vermicomposting). Worms - specifically red wigglers - are nature’s little recyclers. They’re incredibly efficient at breaking down food scraps and produce a fantastic, nutrient-rich compost called castings. This method requires a bit more maintenance - you need to keep the worms happy and the bin moist - but the payoff in terms of high-quality compost is significant. Expect to spend around $30 - $60 to get started, including the bin and a starter worm population. Finally, we have the Stacked Container Method. This is a modular system that’s easy to scale up as needed. You’ll need three plastic containers of different sizes - a large one for the bottom, a medium one for the middle, and a small one for the top. Drill holes in the bottom of the middle container and the bottom of the small container. Layer your materials as you would in a bucket system. The advantage here is good airflow and the ability to easily separate finished compost from the ongoing process. This setup typically costs $20 - $45.
Materials & Tools - Keep it Affordable
The beauty of DIY composting is that you don’t need fancy equipment. Let’s focus on what you likely already have or can easily acquire. For the bucket system, you'll need the two buckets (as mentioned above), a drill, a knife or scissors for cutting cardboard, and some coffee filters to help manage moisture. For the worm bin, you’ll need a worm bin (available online or at garden centers), bedding material like shredded newspaper or coconut coir, and a small shovel or trowel. The stacked container method requires the three containers, a drill, and some cardboard or newspaper for layering. Don’t feel like you need to buy everything new. Seriously consider repurposing items. Old plastic storage containers, pallets (for a larger outdoor bin - if you have a balcony with access to the outdoors), and even sturdy cardboard boxes can be transformed into functional compost bins. A basic toolkit - a hammer, screwdriver, measuring tape - is essential, and always prioritize safety. Wear gloves when handling compost materials and use caution when operating any power tools.
Construction - Step-by-Step Instructions
Let’s get practical. Here's how to build each of these bins: Simple Bucket System: 1. Drill drainage holes in the bottom of the bucket. 2. Drill aeration holes around the top rim. 3. Layer your greens and browns, aiming for roughly a 2:1 ratio (more browns than greens). 4. Keep the mixture consistently moist - it should feel like a wrung-out sponge. 5. Turn the bucket every few days to aerate the compost. Worm Bin (Vermicomposting): 1. Set up your worm bin with the bedding material. 2. Introduce your red wigglers. 3. Bury small food scraps under the bedding - don't just dump them in. 4. Maintain a consistent moisture level - the bedding should be damp, but not soggy. 5. Feed your worms regularly, but don't overfeed them. Stacked Container Method: 1. Place the largest container on a stable surface. 2. Add a layer of browns to the bottom. 3. Place the medium container on top of the largest, creating a gap for airflow. 4. Add a layer of greens. 5. Repeat layers as needed, finishing with a layer of browns. 6. Place the smallest container on top for a final layer of browns.
What to Compost - The Right Ingredients
Composting isn’t magic, but it does require a bit of understanding about what materials work well and what doesn’t. Think of it as feeding your compost pile with the right ingredients. “Greens” - things like vegetable scraps, fruit peels, coffee grounds, and tea bags - provide nitrogen. “Browns” - shredded paper, cardboard, dried leaves, and twigs - provide carbon. A good balance is key. Here's what you can compost: vegetable and fruit scraps, coffee grounds and filters, tea bags, shredded paper and cardboard, eggshells, grass clippings (in moderation). Avoid these items: meat, dairy products, oily foods, diseased plants, pet waste - these can attract pests and create unpleasant odors. Maintaining the correct carbon-to-nitrogen ratio is important; too much green material will lead to a slimy, smelly mess.
Maintaining Your Compost - Simple Routines
Consistent maintenance is crucial for successful composting. Turning your compost pile regularly - every few days to once a week - provides aeration and speeds up the decomposition process. If you're using a bucket or stacked container, simply roll it around. Worm bins require less frequent turning. Monitor moisture levels - the compost should feel like a wrung-out sponge. Add water if it’s too dry, and add more brown material if it’s too wet. Don't be alarmed by occasional odors - this is normal. Adding more brown material can often help neutralize them. A basic composting thermometer can be helpful for monitoring the temperature of the pile - a healthy compost pile will heat up significantly.
Harvesting & Using Your Compost - Ready to Grow!
Your finished compost will be dark, crumbly, and earthy-smelling. It's ready to use when you can't distinguish the individual ingredients anymore. It’s fantastic for enriching the soil in your container gardens. Easy crops to grow with compost include herbs like basil and mint, leafy greens like lettuce and spinach, and even small tomatoes or peppers.
Troubleshooting - Common Problems & Solutions
Even with the best intentions, things can go wrong. Slow decomposition can be caused by a lack of moisture or aeration. Add water and turn the pile more frequently. Unpleasant odors often indicate an imbalance of greens and browns - add more brown material. Pest infestations can be addressed by ensuring adequate ventilation and avoiding composting meat and dairy. If you encounter a problem, don’t despair! There are plenty of resources available online and at your local garden center.
Conclusion
Building a DIY compost bin is a surprisingly achievable and rewarding project, even for apartment dwellers. It’s an affordable way to reduce waste, contribute to a more sustainable lifestyle, and create a valuable resource for your plants. Start small, compost consistently, and watch your urban garden thrive!
Keep This Practical
Garden progress usually comes from one condition getting a little better: light, watering, soil, or plant choice. Start with the factor that would make the biggest difference in the space you have.
Tools Worth A Look
If the article pointed you toward one clearer plant or setup decision, the products below are the closest fit.
- Square Foot Gardening for Small Spaces: Simple Raised-Bed and Container Methods to Grow Fresh Vegetables at Home.
- Grow at Home Made SimpleFIFINE USB Microphone for Zoom Video Meeting Online Class on PC ComputerEMEET 1080P Webcam with Microphone, C960 Web Camera, 2 Mics Streaming Webcam, 90°FOV Computer Camera, Plug and Play USB Web CamHow Shop Like Boss Mortgages
Some of the links on this page are Amazon affiliate links, which means I may earn a small commission if you make a purchase through them. As an Amazon Associate, I earn from qualifying purchases.
Related ReadingMore from Urban Sprout Corner
Apartment Compost: Easy DIY for Beginners
Turning Kitchen Scraps into Garden Gold: A Beginner’s Guide to Apartment Composting Apartment living doesn’t always scream ‘garden,’ but it *can* accommodate.

Apartment Compost: Simple DIY & Savings
Your Guide to DIY Compost Bins for Apartments (Budget-Friendly!) (Simple DIY & Savings) Hey there, fellow urban gardeners! Heather York here, and let’s be h...

Apartment Compost: Simple Steps for Fresh Soil
Apartment Compost can be easier to approach when you start with a few practical basics. Topic focus: Small Space Gardening Composting in an apartment. It sounds.